An animated model only becomes an experience when the user can give it a reason to move. This tutorial connects a GLB asset, animation logic and a small interactive control panel.
In this tutorial I wanted to add custom 3D models, UI and some logic by playing an animation when a button is pressed. A 3D model can look great in a scene and still feel completely static, so the goal is to connect the model to something the user can actually do.
The asset is only the starting point
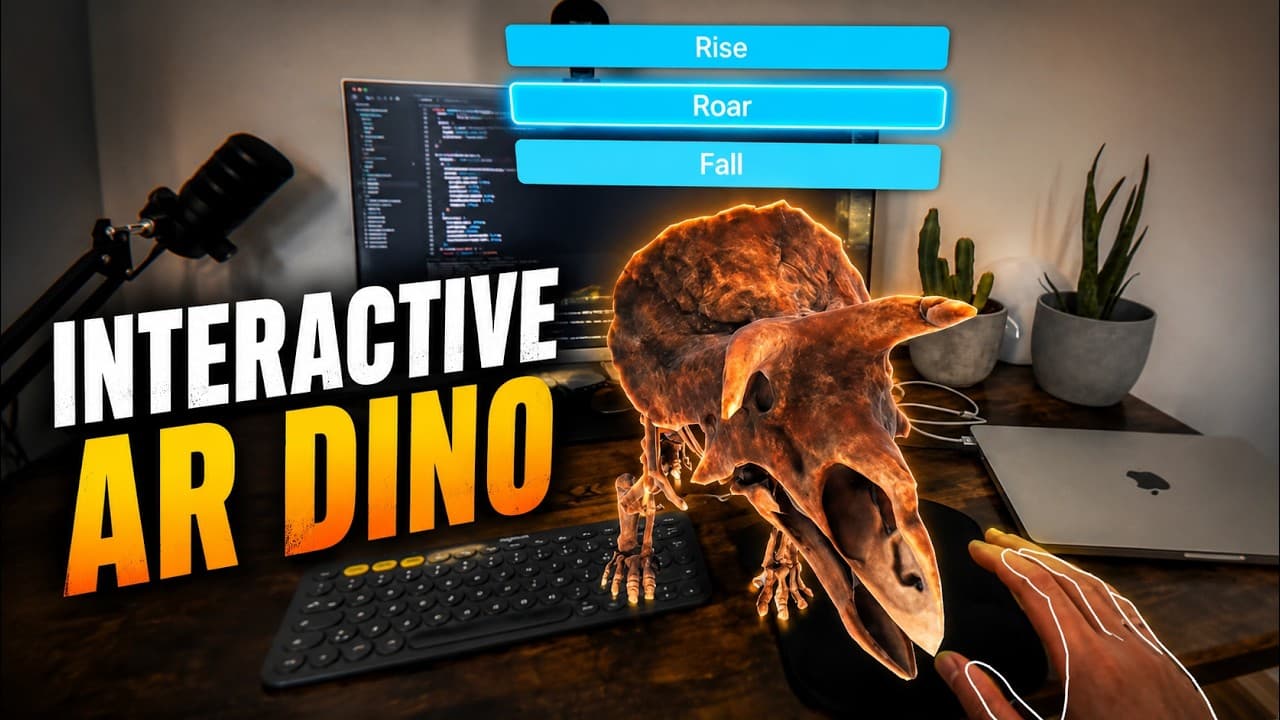
I start by looking for an animated, downloadable model on Sketchfab. The model needs to have animation clips attached, and I also check its size before downloading it. In the video I use an animated Triceratops skeleton and bring the GLB into a dinosaur folder in the project. Different models can contain different clips and different clip orders, so it is worth checking what is actually inside the file before wiring up the buttons.
The model is then added to the asset manifest and loaded through the AssetManager. Keeping the file in the manifest means the rest of the scene can refer to the asset by name instead of relying on paths in several different files. It is a small setup step, but it makes the project much easier to extend when you add another model, texture or sound.
Separating the animation from the buttons
The useful part of the example is the separation between the UI and the animation system. A custom ECS component stores which animation should be played. The dinosaur system reads that request and uses Three.js AnimationMixer to update the model. The buttons do not need to know how animation playback works. They only need to change the component data.
The control panel has three simple actions: Rise, Roar and Fall. That is enough to make the model feel responsive without building a full game interface. The panel is built with UIKITML, and the important idea is that the UI is sending intent into the scene rather than directly manipulating every part of the model.
Why a small control set works better
It is tempting to add every possible animation as soon as the model loads. In practice, three clear actions are enough for this example: Rise, Roar and Fall. That gives us a small UIKITML panel and an obvious connection between a button press and something happening in the scene. The animation becomes useful because the interaction gives it context.
I test the same scene in the browser and in WebXR. A button that is easy to use with a mouse may need a different size or position in a headset, but the underlying connection stays the same: the UI requests an animation and the system handles the playback.
The finished example is deliberately small, but the pattern is reusable: keep assets separate from systems, keep UI actions simple and let the scene decide how to respond. That gives you a much better base for the next interaction than a collection of buttons wired directly to model internals.