
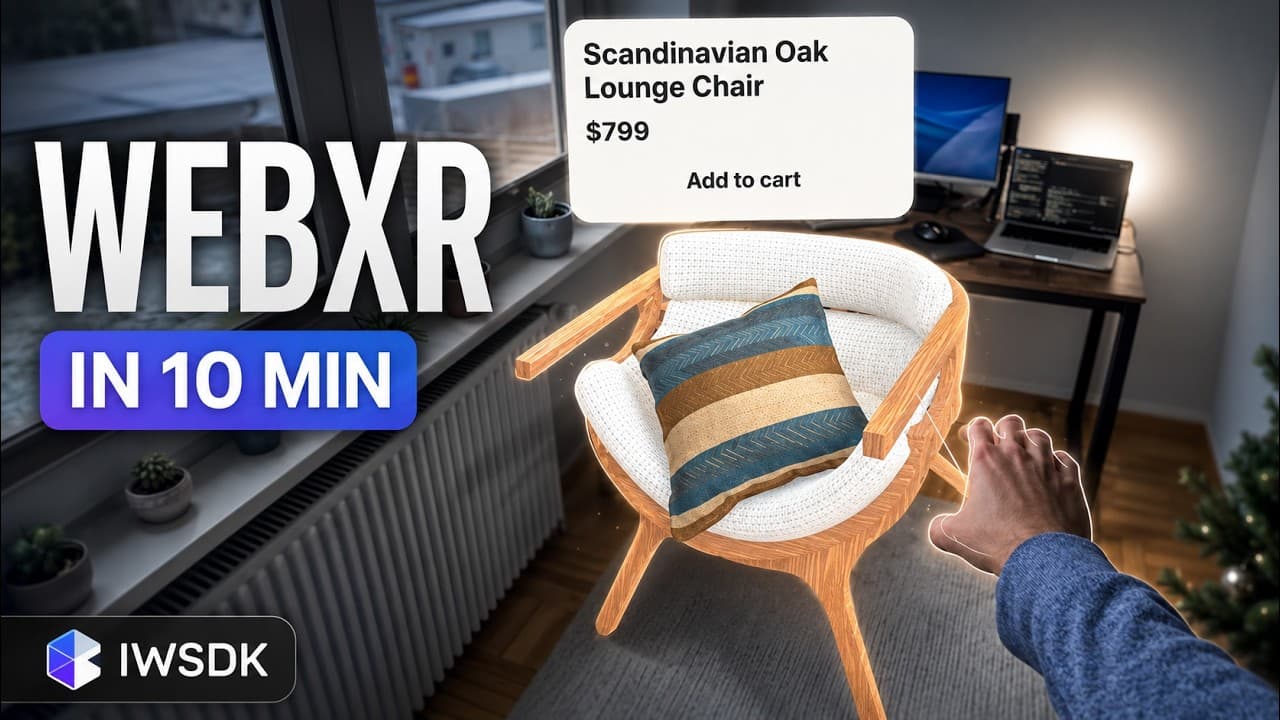
A first WebXR prototype does not need to be impressive. It needs to prove that the full loop works, from opening the experience to interacting with something in space.
WebXR lets you build complete AR and VR experiences as websites. Instead of downloading an app, the user opens a link, enters XR and steps into an immersive world. That is the reason I like working with it: the same project can run across different headsets and glasses, and you can develop and test it directly in the browser.
Start with the project setup
For the first project, I open a folder in Visual Studio Code and create a new Immersive Web SDK project with npm create @iwsdk@latest. I use TypeScript and enable XR support. The setup dialog asks which tools and WebXR features should be included, so you can start with a project that already has the pieces you want to test.
During development, I normally set the WebXR features to optional. If a feature is required too early, the browser simulator can show errors simply because it cannot provide that capability. Before publishing, you can make the features required if the experience depends on them. For this example, I enable scene understanding, environment raycasts, grabbing and physics simulation.
The generated project has a useful structure
The generated project is easier to understand when you split it into five parts: imports, assets, world configuration, entity creation and system registration. The asset manifest keeps track of the external files, while index.ts creates the Immersive Web SDK world and the initial scene. This gives you a clean place to add models, interactions and your own systems later.
The first scene contains a plant and a robot model. They are loaded through the AssetManager, added to the world with transform entities and given interaction components. I can test the same scene in the browser and then open it in a headset by using the local development address. That is a very fast way to check whether the scene works beyond the desktop window.
From prototype to something useful
The ten-minute project is not meant to be a finished product. It is a starting point that removes the uncertainty around the platform. Once the project runs, you can decide whether the experience should become a game, a product preview, a room-scale tool or something else entirely. The important part is having something real to test those ideas against.
That is the nice thing about the immersive web. You can begin with a small project, open it from a link and then build the interesting part on top of it. You do not need to solve the entire product before you know whether the spatial idea is useful.